
Toilet Leaking? Find Where (Base, Tank or Supply Line) and Fix It
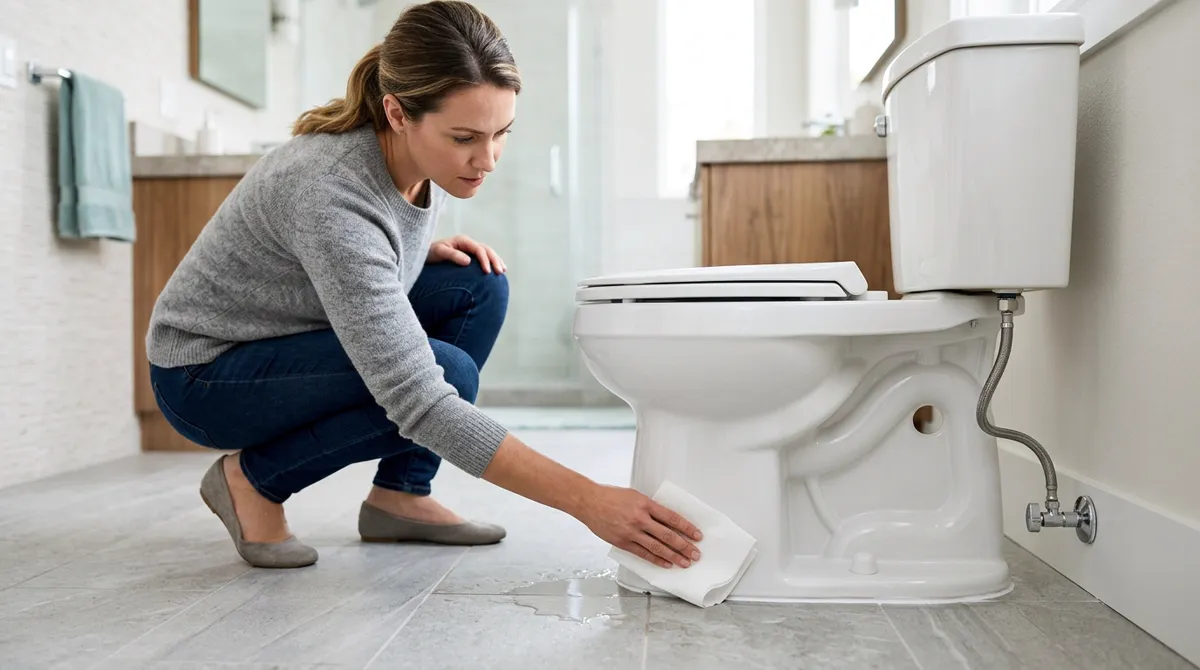
Water on the floor around a toilet usually traces back to the wax ring under the toilet, the tank bolts and tank-to-bowl gasket, the supply line and its shut-off valve, or condensation running off a cold tank. Because water runs downhill, a puddle at the base does not prove the leak is at the base. Dry everything, tuck a paper towel under each joint, and check them before and after a flush: the highest towel to get wet marks the source. The table further down matches each wet spot to its likely cause.
If your toilet tank is leaking, it can go two ways. It can leak out onto the floor, at its bolts, its gasket, the fill valve or a crack, or it can leak silently into the bowl past a worn flapper, which never makes a puddle and shows up as a tank that refills on its own, and on the water bill. This guide takes each source in turn: how to confirm it, what fixes it, and which part to buy. If your toilet is running or refilling on its own rather than putting water on the floor, the toilet troubleshooter is the quicker route.
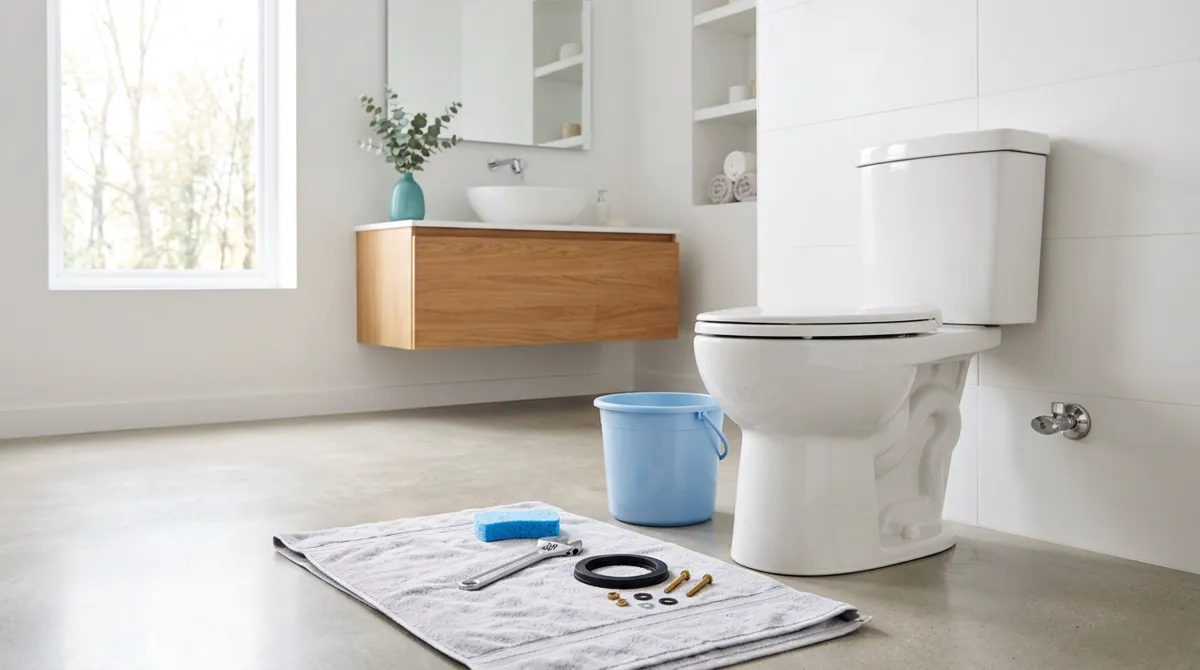
Most of these are cheap-part repairs that a careful DIYer can handle with a wrench and a sponge. Two are not. A crack in the tank or bowl means replacing the toilet, not patching it. A floor that feels soft or spongy around the base is a sign water has reached the subfloor. Those are the points to stop and call a plumber.
Tank joint dry, but water around the base after every flush? That points to a failed wax ring. See the best toilet wax rings.
See our picks →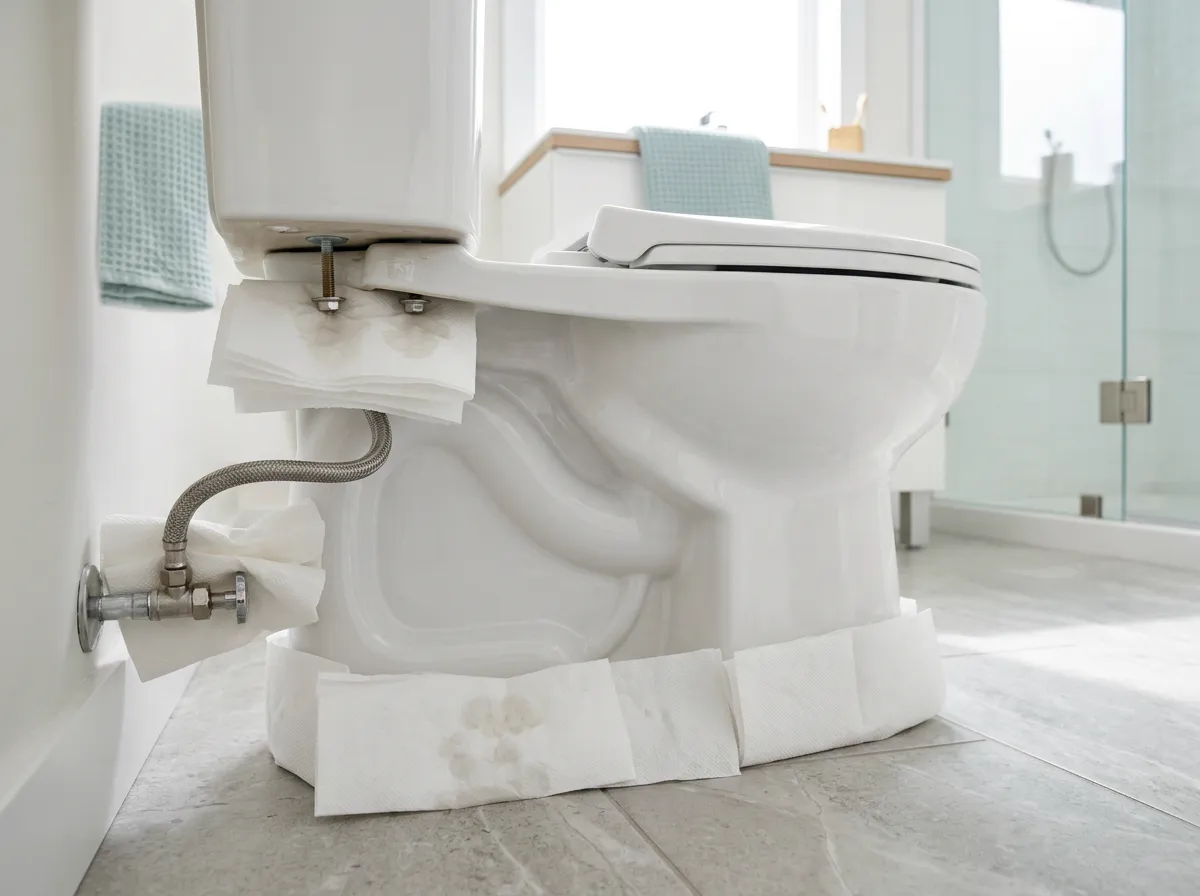
Start here: rule out sweat, then find the highest wet spot
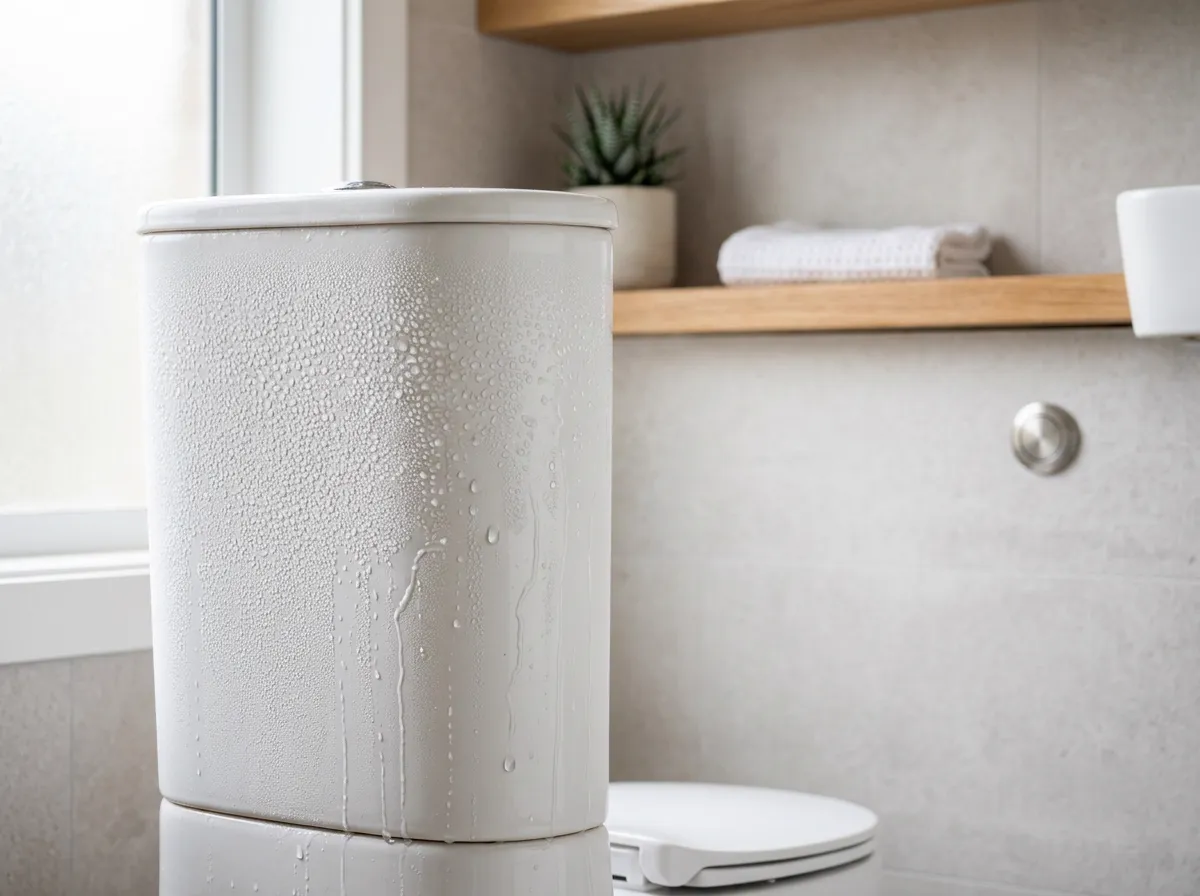
Before you buy anything, dry the whole toilet: the tank, the underside where the tank meets the bowl, the supply line, the wall valve and the floor around the base. If the outside of the tank then beads up with fine droplets, you are probably looking at condensation, not a leak. American Standard explains that droplets form when a cold tank or bowl meets humid air, more often in rainy climates, and warns that condensation left for long periods can damage flooring. Its lined tanks sweat less because the liner keeps the outer surface closer to room temperature. If the tank stays dry and water still appears, fold a paper towel under each joint: both tank bolts, the supply-line nut under the tank, the wall valve and around the base. Check them before flushing, then flush a couple of times and check again. Water runs downhill, so the highest wet spot is the source. Our toilet parts diagram labels each part if you are not sure which is which.
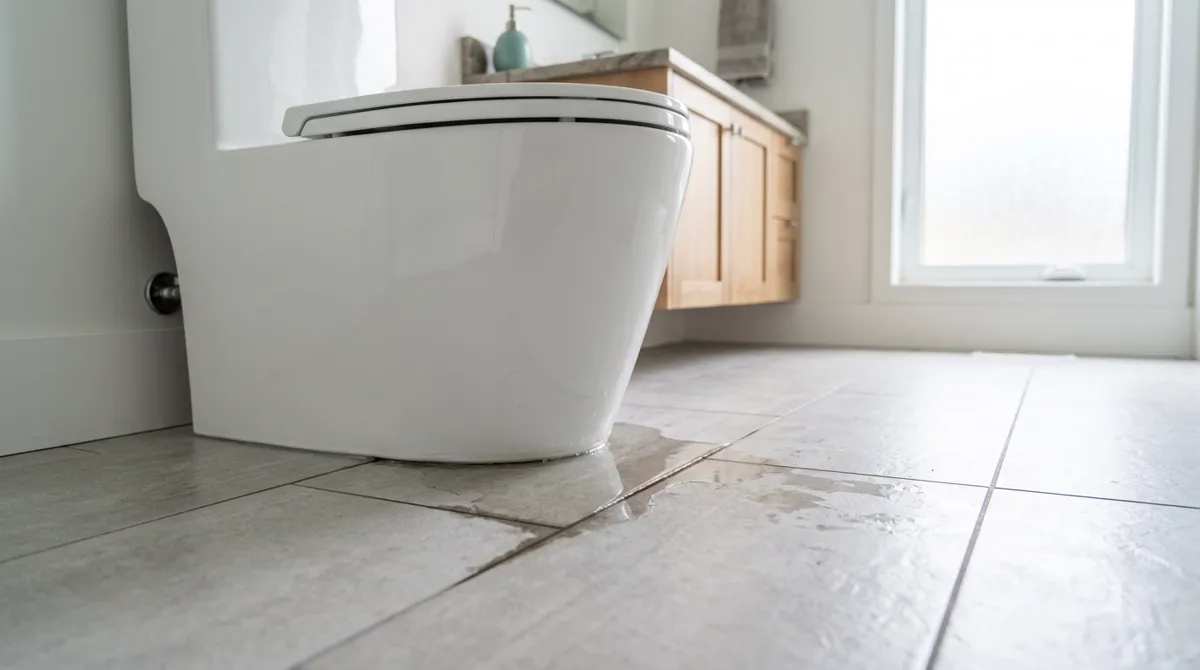
Water at the base after flushing: the wax ring and closet bolts
If the towels around the base stay dry until you flush, there are two suspects. Watch the underside of the tank during a flush first: Fluidmaster's repair-kit instructions say a leak on flushing usually means the tank-to-bowl gasket is not centered and seated, which the next section fixes without pulling the toilet. If the tank joint stays dry and the base still gets wet, suspect the wax ring between the toilet's outlet and the drain flange. Oatey adds a wobbling toilet and a sewer smell near the base to the signs of a failing ring. Kohler says not to rock a bowl once it is set, because a broken watertight seal means a new wax ring. Snugging the closet-bolt nuts gently and evenly can steady a rocking bowl, and shims take care of an uneven floor, but Kohler cautions that overtightening those nuts can damage the china, and neither will re-seal a squashed ring. The fix is to pull the toilet and fit a new seal; our best toilet wax rings guide covers which seal suits your flange height, and our step-by-step wax ring guide walks through pulling and resetting the toilet.
Water down the back of the bowl: tank bolts and the tank-to-bowl gasket
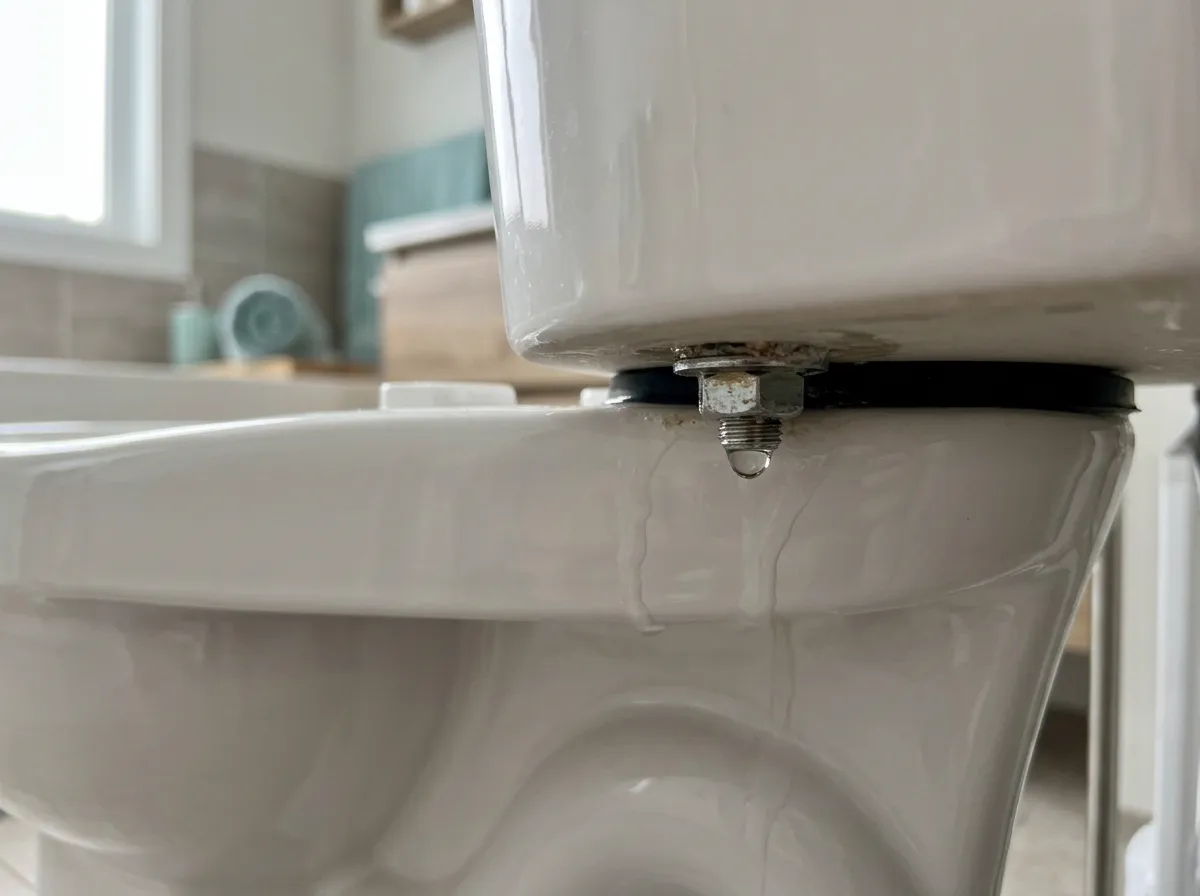
On a two-piece toilet, the tank sits on a rubber gasket over the bowl inlet, held by two or three bolts, and the two leak at different times. The bolt heads sit inside the tank, under water, so a loose nut or worn bolt washer drips from under the tank whenever it is full. Water only passes the gasket during a flush, so that leak shows up then, running down the back of the bowl. Korky notes that the tank's weight compresses the gasket over time, and the bolts can loosen as it does. Snug the nuts a little at a time, alternating sides, until the tank stops rocking, then stop; Kohler warns that overtightening can break or chip the china. If it still leaks, replace the gasket and bolts as a kit. Fluidmaster's order is bolt head and rubber washer inside the tank, then rubber washer, metal washer and nut under the bowl. A metal washer right under the bolt head causes a leak. For Kohler three-bolt tanks and Gerber two-piece toilets, it points you to those brands' own gaskets.
Drips at the supply line or shut-off valve
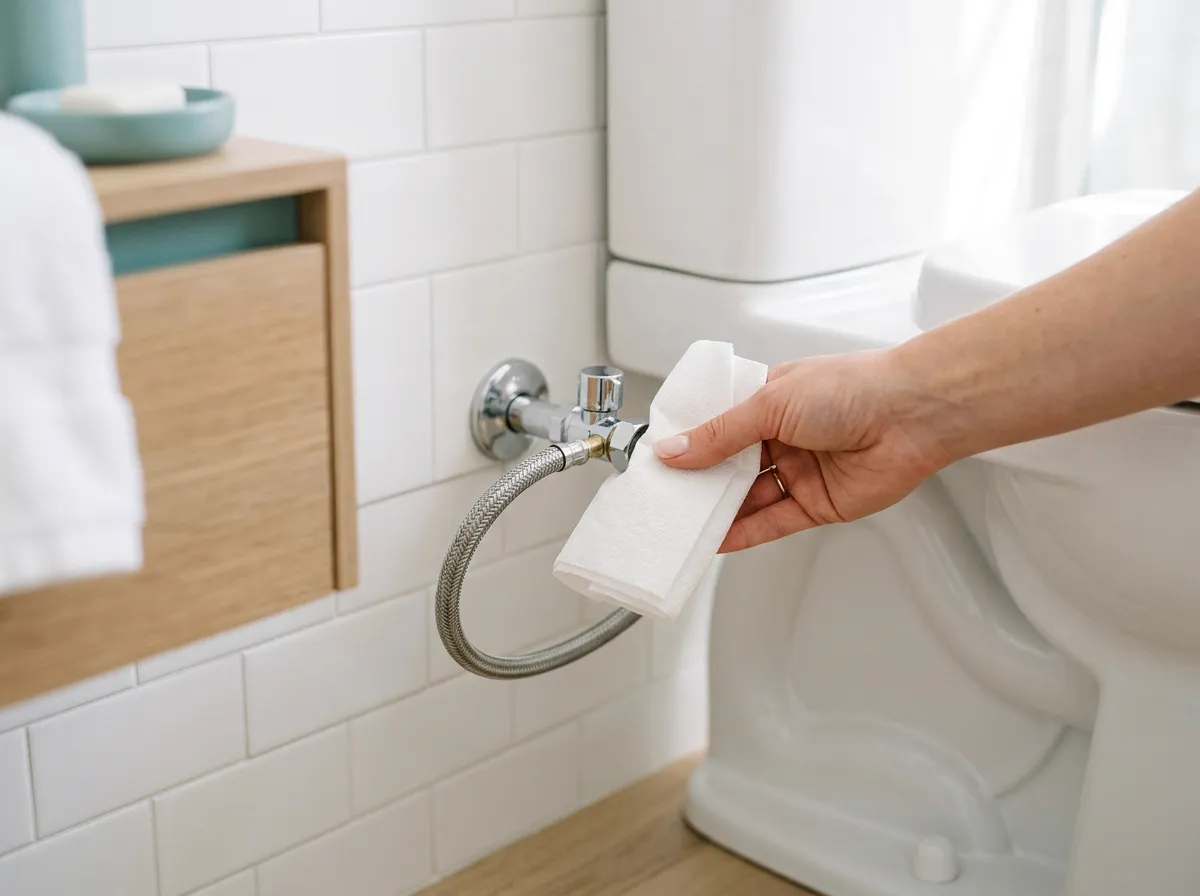
The supply line is under pressure whenever the valve is open, so a leak here drips flush or no flush. At the top, hand-tighten the supply-line nut onto the fill valve, with no tape or sealant; if it drips with the water on, turn it just enough to stop the leak. At the wall, Fluidmaster's braided-line instructions take the metal nut half a turn past hand-tight, with the same just-enough rule. (Oatey's wax ring guide gives hand-tight plus a quarter turn with a wrench without naming an end; don't use that on the plastic nut.) If a snug nut still drips, replace the line, which Fluidmaster recommends anyway once a line is worn or over five years old. A drip around the valve stem behind the handle is the packing nut: Family Handyman tightens it an eighth of a turn clockwise. Taking the valve apart means shutting off the house main; if that repair fails, the valve needs replacing, a sensible point to call a plumber. If a bidet tees into this line, its T-valve joints are covered in our bidet leak guide.
Fill valve leaks: under the tank, over the top, or into the overflow
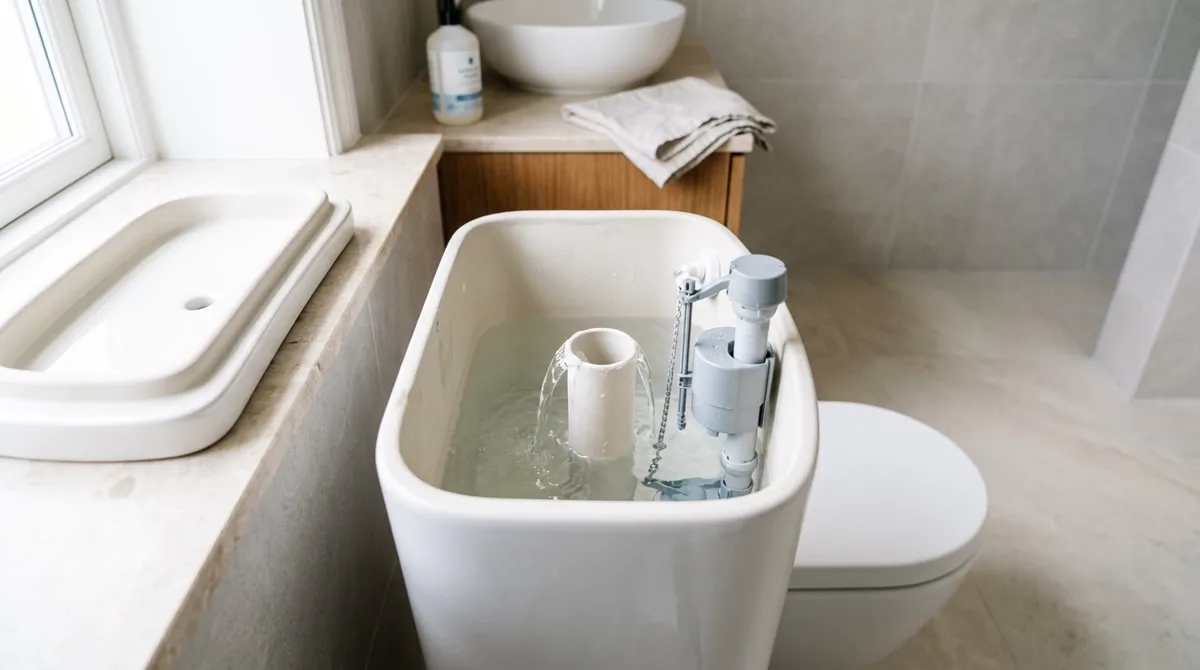
The fill valve is the tall valve that refills the tank after each flush, and it can leak three ways. The first is under the tank, where its threaded shank passes through the tank bottom, sealed by a shank washer and held by a plastic locknut. That locknut goes on hand-tight only; if a snug one still drips, replace the valve. The second is over the top: if the toilet keeps running and there is water on the floor, Fluidmaster says to turn the water off and check whether it is escaping around the lid or the handle. Its fix is a new fill valve and flush valve, since the flush valve may be at the wrong height or blocking water from draining into the bowl. The third never reaches the floor: the tank overfills and the excess spills down the overflow tube. Setting the water level is covered in how to adjust a toilet float, the swap in how to replace a toilet fill valve, and our picks in best toilet fill valves.
The silent leak: tank water seeping into the bowl
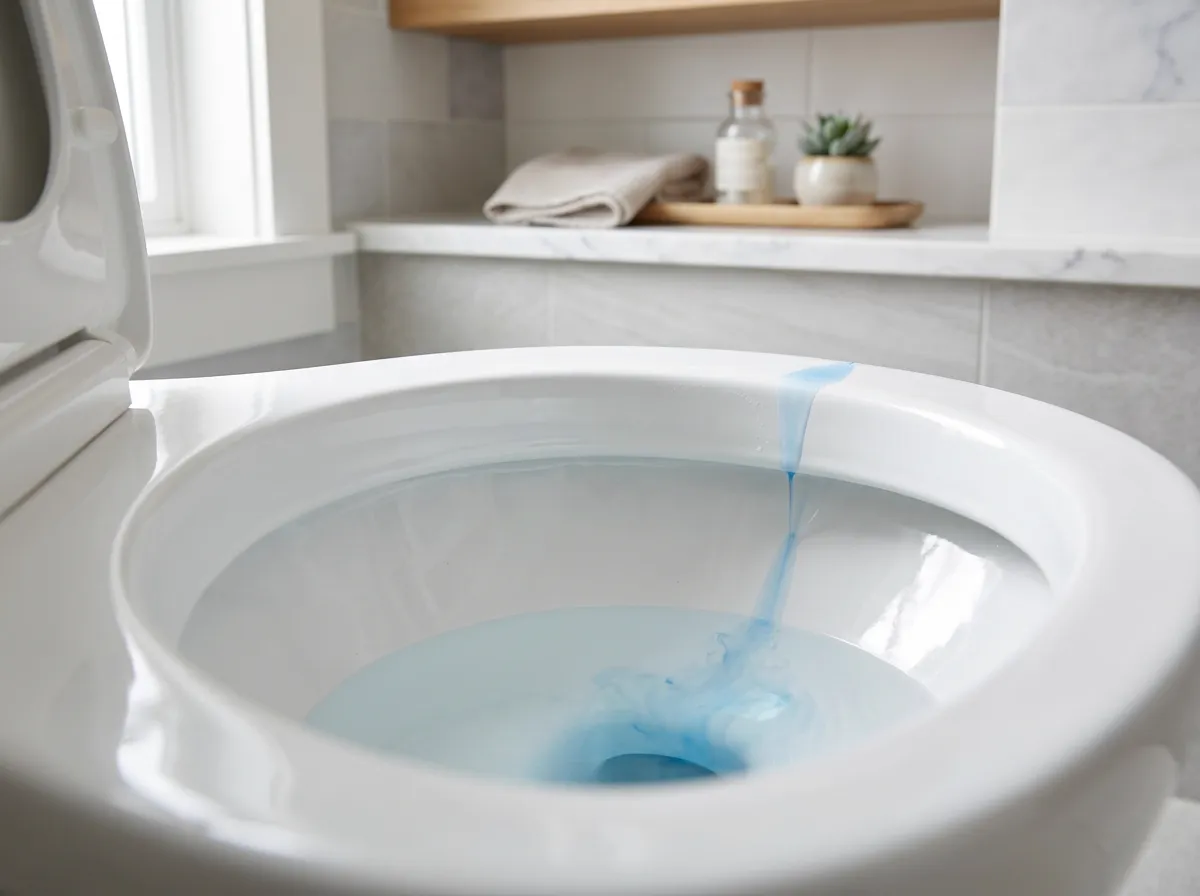
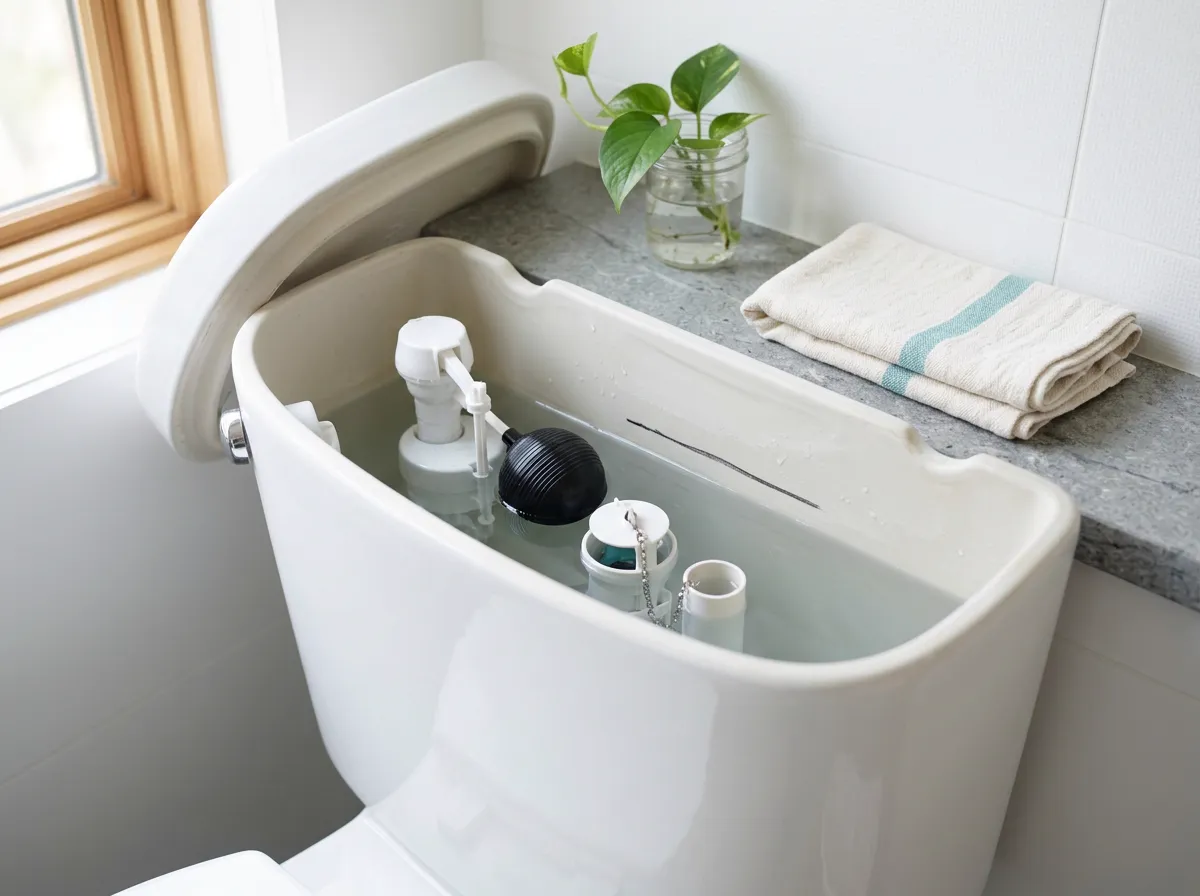
When the flapper stops sealing, water trickles into the bowl and the fill valve keeps topping the tank up. The EPA says an old or worn flapper can make a toilet flush on its own or silently leak thousands of gallons a year; check it periodically and replace it at least every five years. The EPA's dye test: tint the tank water with food coloring and leave it 10 minutes without flushing. Any color that reaches the bowl means a leak, usually past the flapper. Dye won't show where the leak is, Fluidmaster notes, but its water test will: with a full tank, turn the water off, mark the level, and re-mark every 30 minutes until it stops falling. Stopping at the flapper's lip points to the flapper or its seat. Draining to the bottom means a worn flush-valve gasket and a new flush valve. A quarter- to half-inch drop points to a refill tube inside the overflow pipe, or a cracked pipe. Fixes: how to replace a toilet flapper, best toilet flappers and flapper vs fill valve.
Cracked porcelain or a soft floor: when the fix is not a part
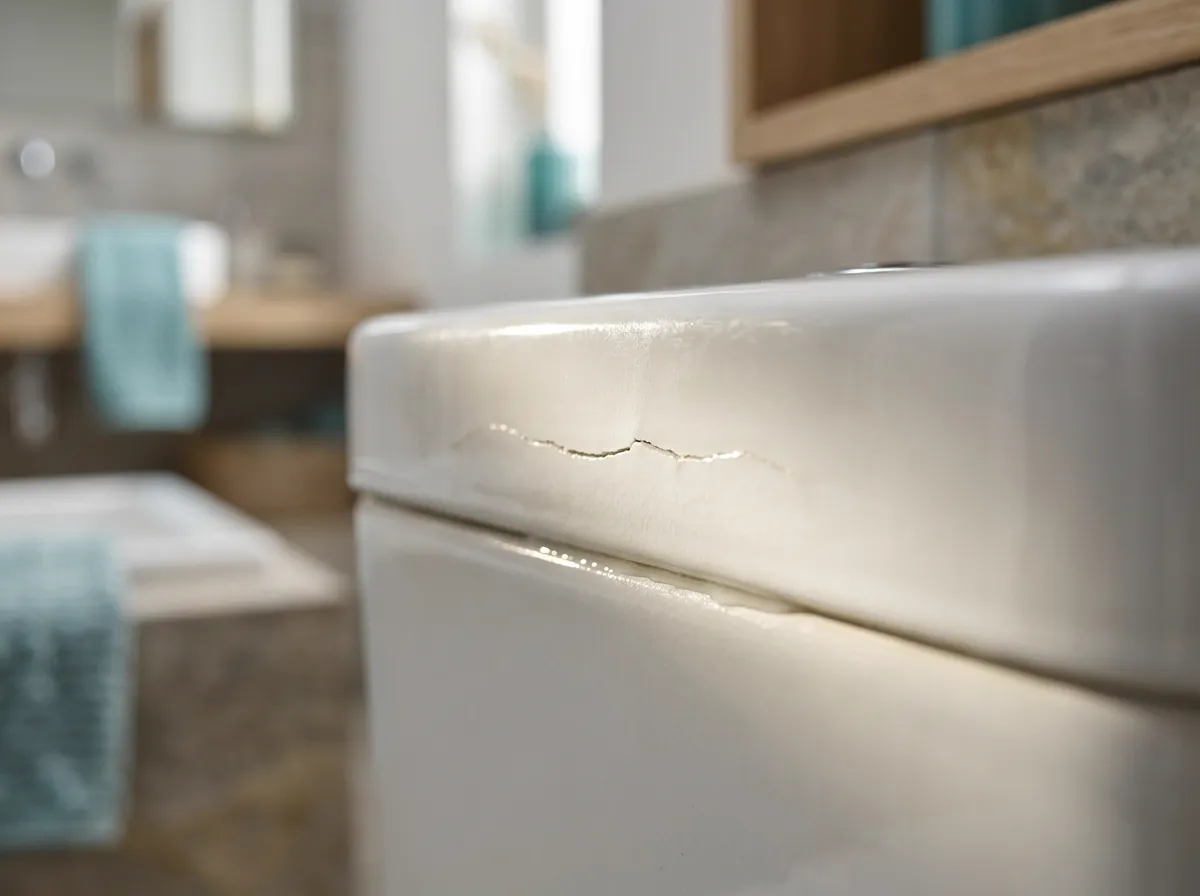
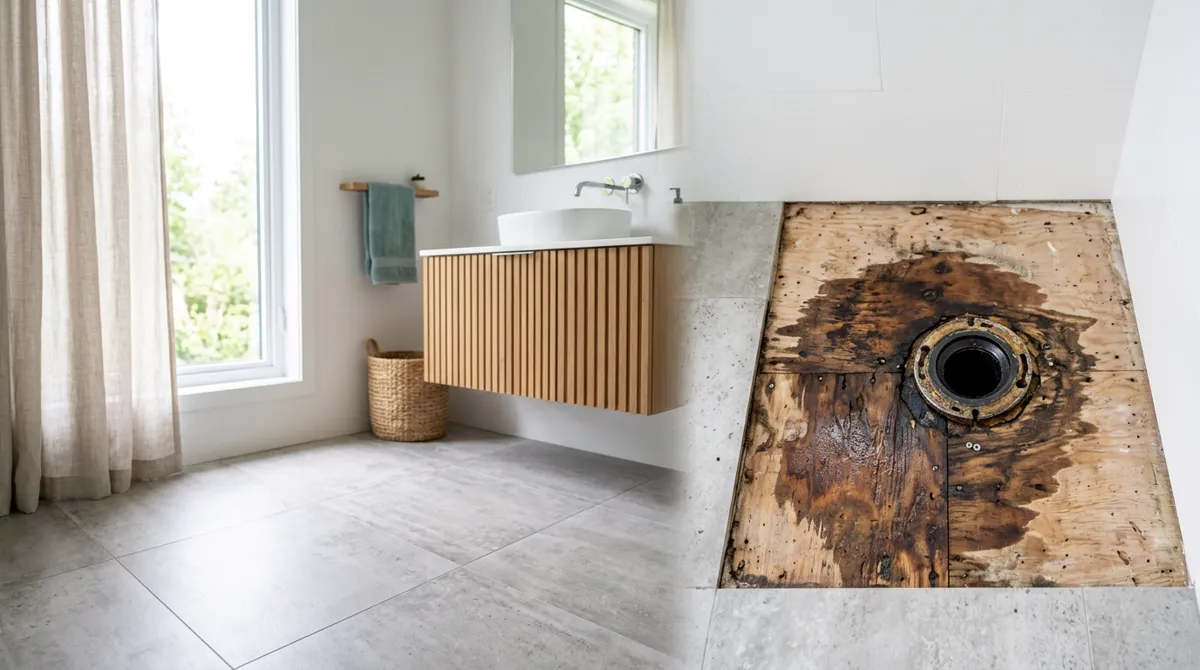
Two findings change the job. The first is a crack: a fine line on the dried tank or bowl that stays wet or keeps coming back. American Standard says to replace a toilet with a crack or even a hairline fracture in the tank or bowl, to stop the crack spreading, breaking and leaking. A tank holds water above your floor all day, which is why we would replace rather than patch. If the toilet is fairly new, check the warranty first: American Standard offers warranty help to original owners with proof of purchase. Until then, close the shut-off valve and drain a cracked tank. The second is the floor. If it feels soft or spongy around the base, or the ceiling below is stained, water has reached the subfloor, and Oatey's wax ring guide says to check whether that section needs replacing before the toilet is reset. A cracked or damaged closet flange has to be replaced, not sealed, Korky adds. That work is for a plumber or a flooring contractor, not an afternoon with a new seal.
Should you caulk around a toilet?
Manufacturers disagree, so it is a judgment call. Korky doesn't recommend caulking around the base, because caulk can hide a leak; if you do caulk, leave the back open so water has a way out and a future leak shows on the floor. American Standard, on the other hand, lists a bead of caulk around the front of the base for extra stability, alongside retightening and shims, for a bowl that rocks slightly after installation, and Oatey's wax ring guide finishes with caulk around the base once the toilet has been flushed and checked for leaks. Caulking the front and sides and leaving the back open gives you the finished look without hiding a failing seal. What caulk will never do is fix a leak. The wax ring seals the toilet to the drain; caulk only closes the gap at the floor. Caulking over a wet base just hides the water, so find and fix the source first, let the floor dry out, and then decide.
Where the water is, and what it usually means
| Where you find water | When it shows up | Most likely source | Usual fix |
|---|---|---|---|
| Fine beads all over the outside of the tank | When the air is humid | Condensation, not a leak | Wipe it and protect the floor; a lined tank sweats less |
| A puddle around the base, with the tank joint dry | Right after flushing | The wax ring under the toilet | Pull the toilet and fit a new seal |
| Dripping from the tank bolt nuts under the tank | Any time the tank holds water | Loose tank bolts or worn bolt washers | Snug the bolts evenly, or replace the bolts and washers |
| Running down the back of the bowl | During and just after a flush | A tank-to-bowl gasket that is not sealing | Replace the gasket and bolts as a kit |
| On the supply line or at the wall valve | Constantly, flush or no flush | A loose nut, a worn washer or worn valve packing | Tighten the nut just enough to stop the drip, snug the packing nut, or replace the line or valve |
| Under the tank where the fill valve comes through | Constantly | The fill valve locknut or its shank washer | Hand-tighten the locknut, or replace the fill valve |
| Over the rim, around the lid or at the handle | While the tank is filling | A fill valve that will not shut off, or a flush valve at the wrong height | Shut off the water, then replace the fill valve and the flush valve |
| Nowhere, but the tank refills on its own | Between flushes | Tank water seeping into the bowl, usually past the flapper | Dye test, then replace the flapper |
| A line on the porcelain that keeps getting wet | Any time | A crack in the tank or bowl | Replace the toilet |
Tips & warnings
- Shut the water off before you start: the valve behind the toilet closes clockwise. If it will not close all the way, use the house main instead.
- Hand-tighten both plastic nuts under the tank: the fill valve locknut and the supply line's nut on the fill valve. Fluidmaster warns that overtightening can damage the fill valve or crack the tank.
- When you set a tank back on a new gasket, have a helper press down evenly on both sides while you tighten the bolts, alternating sides. That compresses the gasket uniformly and prevents the gaps that cause leaks.
- A flapper leak makes no puddle, so run the food-coloring dye test now and then even when the floor is dry, and any time the tank refills on its own.
- Tank-to-bowl gaskets come in a standard 2-inch size and larger 3-inch ones, so take the old gasket and bolts with you when you buy replacements, or photograph them, and come home with the right size.
- If a tank-to-bowl repair has you lifting the tank off anyway, that is the easiest moment to replace a tired flapper or fill valve at the same time.
Frequently asked questions
Why is my toilet leaking at the base?
Usually one of four things: a failed wax ring (water appears around the base after flushes), loose tank bolts or a worn tank-to-bowl gasket (water drips from under the tank or runs down the back of the bowl), a leaking supply line or shut-off valve (a steady drip behind the toilet, flush or no flush), or condensation running off a cold tank in humid air. Dry everything, tuck a paper towel under each joint, and see which one gets wet first, with and without a flush. If the floor around the base feels soft, have a plumber check the subfloor before the toilet is reset.
Why is my toilet tank leaking from the bottom?
Water under a toilet tank usually comes from one of four joints. The tank bolts drip from their nuts under the tank whenever it is full, while the tank-to-bowl gasket usually leaks during a flush and sends water down the back of the bowl. The fill valve's plastic locknut, where the valve passes through the tank bottom, can drip if it loosens or its washer fails, and so can the supply-line nut just below it; both should be hand-tightened only. A cracked tank can leak too, and American Standard's advice for a crack is to replace the toilet. If the whole outside of the tank is beaded with water, that is condensation, not a leak.
How do I know if my tank-to-bowl gasket is bad?
Korky's signs of a failed tank-to-bowl seal are water pooling on the floor, water leaking from the tank bolts, or water around the base of the tank. Timing helps narrow it down. A gasket leak often shows up when you flush, as water running down the back of the bowl (Fluidmaster links a leak on flushing to a gasket that is not seated), while a drip at the bolt nuts can appear at any time the tank is full. If the bolts are snug and it still leaks, the gasket has compressed or shifted, and the fix is to lift the tank off and fit a new gasket with new bolts and washers in the right size for your toilet.
Can a cracked toilet tank be repaired?
Not in a way we would trust. American Standard's guidance for a crack or even a hairline fracture in the tank or bowl is to replace the toilet, to keep the crack from spreading, breaking and leaking. Before you buy, check whether the toilet is still under warranty, particularly if you are the original owner and still have proof of purchase. In the meantime, close the shut-off valve behind the toilet and drain the tank.
Should you caulk around a toilet?
It's a judgment call. Korky advises against it, since a bead of caulk can keep a leak out of sight, and says to leave the back uncaulked if you do. American Standard caulks the front of the base to steady a bowl that rocks slightly, and Oatey caulks it as a finishing step. Never caulk over a base that is leaking now.
How can I tell if my toilet is leaking when I can't see any water?
Use the EPA's dye test: put a few drops of food coloring in the tank and wait 10 minutes without flushing. Color in the bowl means the tank is leaking into it, usually past a worn flapper. Flush afterward so the dye doesn't stain the tank. To check the whole house, the EPA suggests reading your water meter before and after a two-hour period when no water is being used; if the reading changes at all, you probably have a leak somewhere. A toilet that refills by itself between flushes is the same silent leak making itself heard.
Sources
- EPA WaterSense — Fix a Leak Week (toilet dye test, flapper checks, water meter test)
- Fluidmaster — Testing the toilet tank water for a leak into the toilet bowl
- Fluidmaster — Installing and resolving leaks at the tank bolts
- Fluidmaster — Toilet running constantly (water on the floor)
- Fluidmaster — 400AKC/400AFSC complete toilet repair kit installation instructions (PDF)
- Fluidmaster — Click Seal supply line instructions and FAQs
- Korky — How to fix a leak between the toilet tank and bowl
- Korky — How to install a toilet (caulking guidance)
- Korky — How to fix a wobbling toilet (cracked flanges)
- Korky — How to replace a toilet fill valve
- American Standard — Why are water droplets forming on the surface of the toilet tank?
- American Standard — What is the purpose of the liner in a toilet tank?
- American Standard — What should be done if there is a crack in the toilet tank or bowl?
- American Standard — Toilet bowl rocks slightly on the floor: is this normal?
- Oatey 101 — What is a toilet wax ring and when should you replace it?
- Oatey — How to replace a toilet wax ring to fix toilet leaks
- Kohler — Close-coupled toilets installation guide, 1004604-2 (PDF)
- Family Handyman — How to fix a leaking shutoff valve