
How to Adjust a Toilet Float
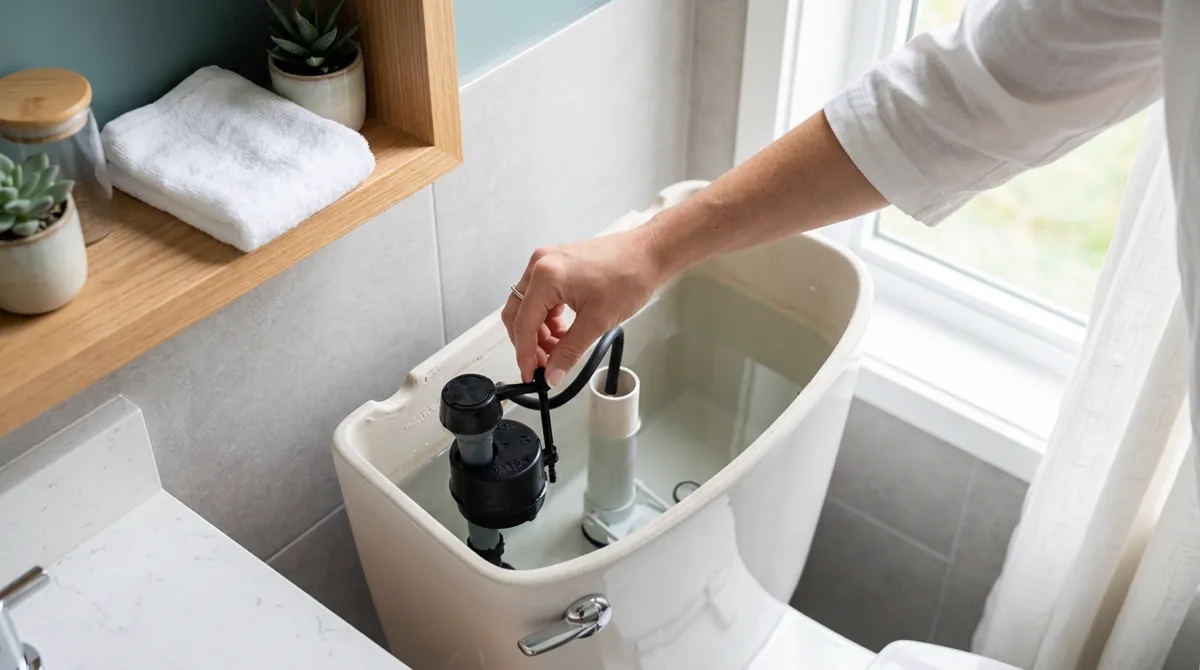
To adjust a toilet float, take the lid off the tank and work out which kind of float your fill valve uses. On a float-cup valve such as Fluidmaster's 400A, you turn an adjustment screw. A Korky valve's float is internal, so you change the valve's height instead. For a ball float on a rod, Kohler says to bend the rod slightly. Set the water at the tank's waterline mark, or about 1/2 inch below the top of the overflow tube if there isn't one, then flush and check where it stops.
Getting the float right fixes two opposite problems. Set too high, the water climbs past the top of the overflow tube and drains into the bowl, so the valve never shuts off. Set too low, the tank doesn't hold enough water and, as Korky puts it, you get weak or incomplete flushes. A tank that won't fill at all, or fills very slowly, is usually a different problem: Korky and Fluidmaster trace it to the supply side (a partly closed shutoff valve, a kinked line or debris in the line) or to buildup and wear inside the fill valve, not to the float setting.
This guide covers the float types that manufacturers document: float cups on an adjustment screw, Korky's internal float and the ball float on a rod. It then walks through a tank that's too full, too low or slow to fill, and the point where adjusting stops helping and a new fill valve is the better fix. One warning before you start: screw direction is not the same on every valve, so don't assume clockwise means up.
Float set right and the valve still won't hold the level? It's time for a new fill valve. See the best toilet fill valves.
See our picks →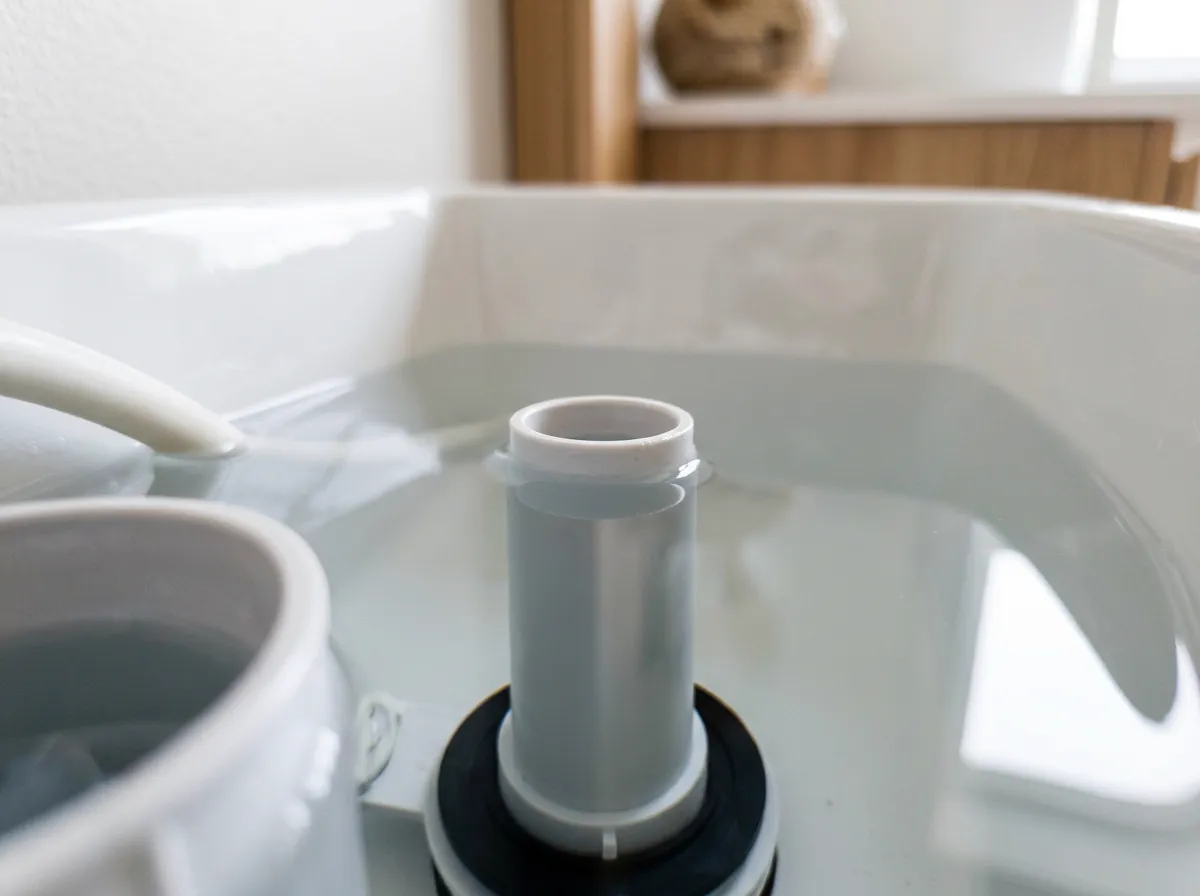
How the float works, and where the tank water level should sit
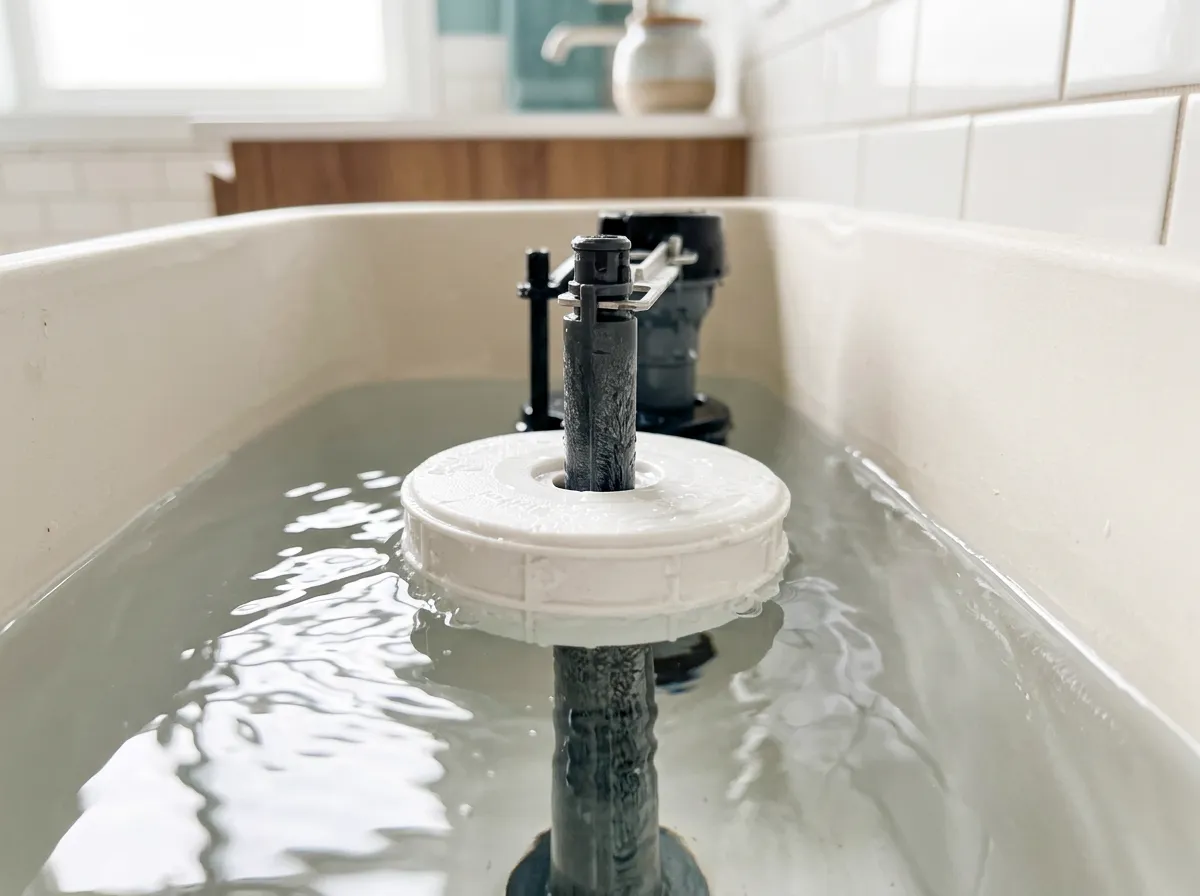
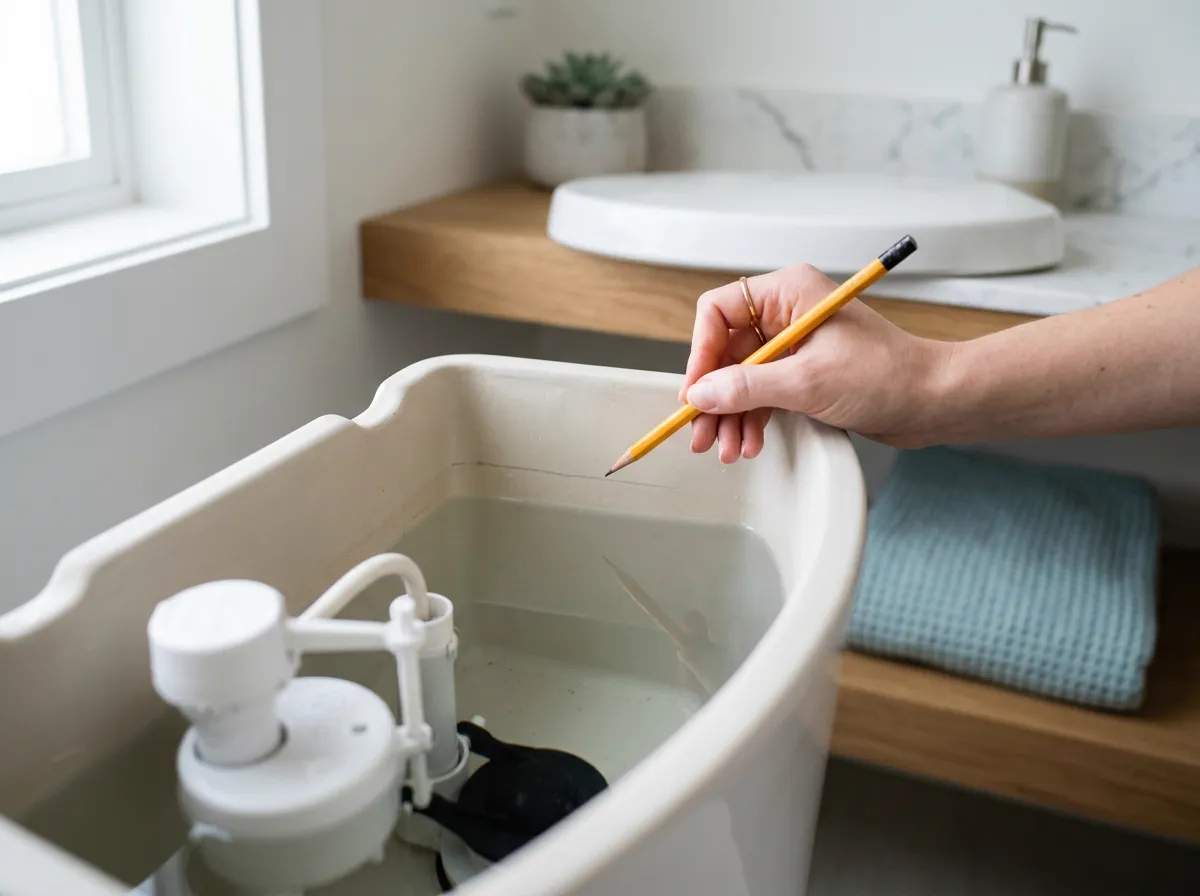
The float is the part of the fill valve that senses the water. Korky describes the cycle: as water leaves the tank the float drops and opens the valve, and once the tank refills to the right level the float rises and shuts it off. (Korky notes the fill valve is also called a ballcock, and that the flapper is sometimes called a float valve. They are different parts: the flapper lets water out, the float controls water coming in.) Set the water to the tank's waterline mark if it has one; if it doesn't, aim for roughly 1/2 inch below the top of the overflow tube, the level Fluidmaster and Korky both specify (American Standard gives 1/4 to 1/2 inch). The mark may be on the back wall of the tank or on the flush valve; Kohler's service instructions for its low-profile one-piece toilets show both. The hard limit is the top of the overflow tube, which sends any extra water down into the bowl, and the same Kohler manual notes the valve will not shut off if the water is above it. Fluidmaster's installation steps start by pencil-marking the tank's water level; do the same before you adjust, so you can see how far each change moves the water. If you're not sure which part is which, our toilet parts diagram labels everything in the tank.

Adjusting the float with a screw on the fill valve
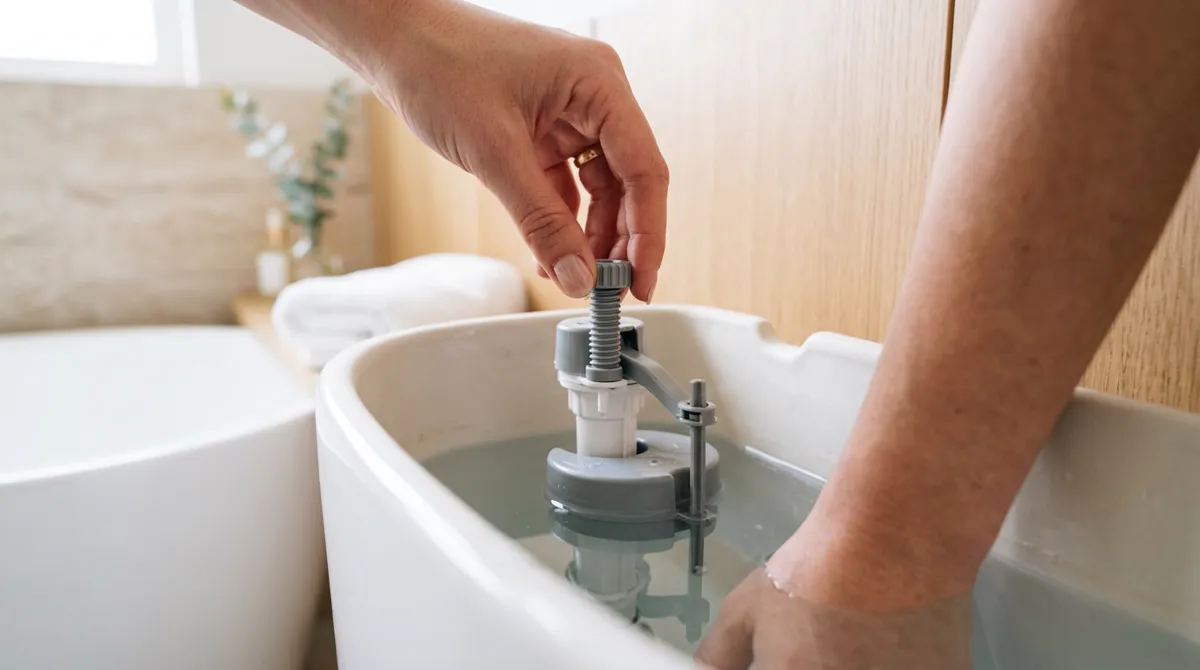
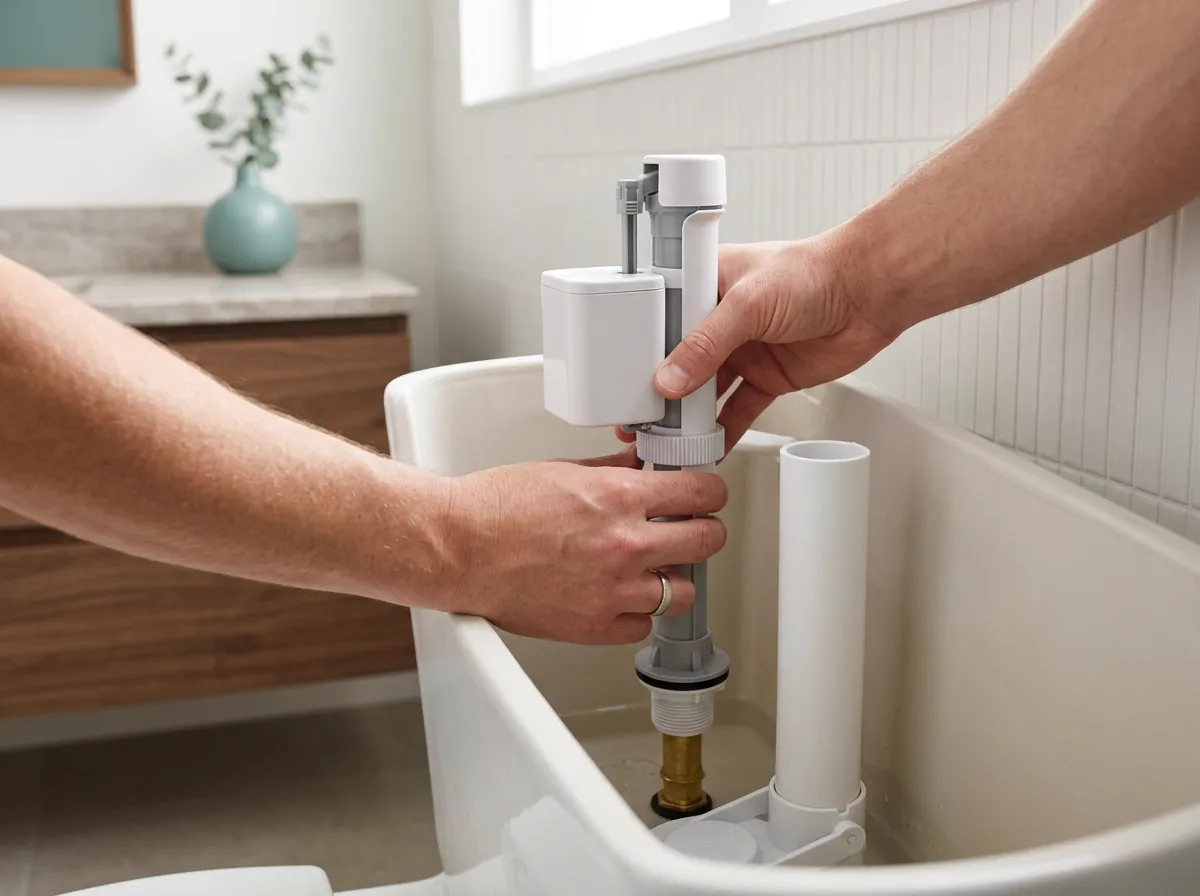
On a float-cup valve, an adjustment screw sets how high the cup rides before it shuts off the water. Fluidmaster's 400A has the screw on top: turn it clockwise to raise the water level and counterclockwise to lower it. Fluidmaster says to flush first and make the adjustment while the tank is filling, then flush again and check the new level, repeating as needed. American Standard's universal fill valve has its adjustment screw on the side, with the same directions (clockwise raises, counterclockwise lowers). Not every screw works this way. Kohler's manual reverses it for the float valve on some of those one-piece toilets: counterclockwise raises the level and clockwise lowers it. So go by what the water does, not by the direction you expect. By Fluidmaster's count, eight turns of the screw move the float about 1/2 inch, so work in several turns at a time and compare each new level with your pencil line. If the screw runs out of travel before the water gets high enough, Fluidmaster says you may have to lengthen the valve itself, which means taking it out of the tank; our fill valve replacement guide covers setting a valve's height. While you're in there, make sure the cup can move freely: Fluidmaster says the float cup must not touch the tank walls, the flush lever or the flush valve.
Internal float: adjust the fill valve's height
Korky fill valves use an internal float, so there is no cup or screw to move. Korky says a height adjustment is what changes the tank level, and the two failure modes are the same as on any valve: set too high, the valve won't shut off and can run constantly or overflow; set too low, you get weak or incomplete flushes. To change it, shut off the water, flush and hold the handle to drain the tank, disconnect the supply line, remove the mounting nut and lift the valve out. Twist the top counterclockwise to unlock it, slide it up to full extension, stand it back in the tank, and push it down until the water-level mark stamped on the valve sits about 1/2 inch below the top of the overflow tube. Korky's instructions say this puts the critical-level (CL) mark 1 inch above the overflow, the plumbing-code position. Lift the valve out, twist the top clockwise until it snaps locked, reinstall it and hand-tighten the mounting nut only. Then hand-tighten the supply-line nut onto the fill valve, with no tape or sealant; if it drips once the water is on, turn it just enough to stop the leak. If the water still won't shut off, Korky's troubleshooting says the valve may be set too high or too low: turn the water off and set the height again.
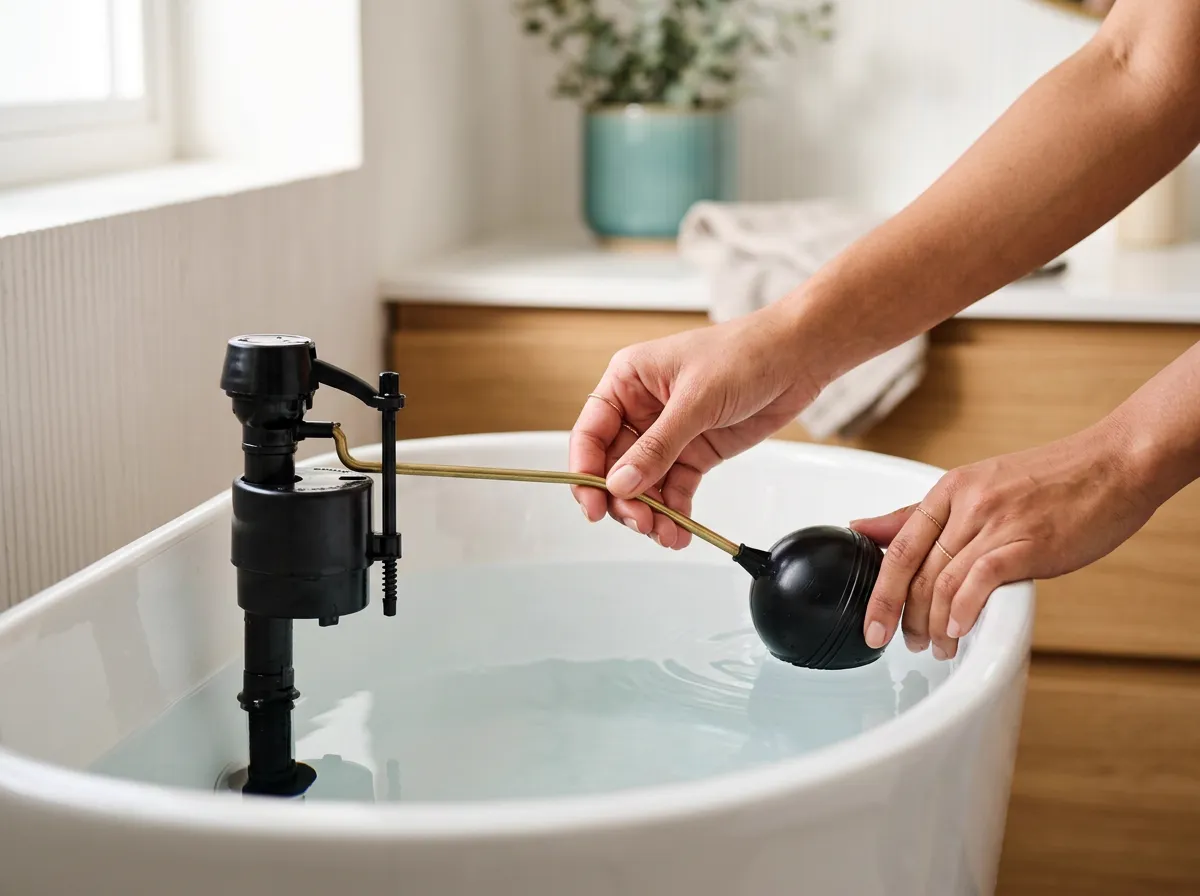
Adjusting a toilet ball float on a rod
Some fill valves use a float ball on the end of a rod, and the adjustment is mechanical. Kohler's manual says the water must be at the waterline for a proper flush, and to bend the float rod if necessary to get it there. Its troubleshooting chart gives the direction: if the tank water is too low, bend the float rod up slightly; if the water is above the overflow, bend it slightly downward. Make small changes and flush between each one. Check the ball itself, too. The same chart lists a leaky float ball as a cause of a toilet that won't shut off with water running into the overflow, and the fix it gives is a new float ball. A float that has taken on water can't rise to close the valve, so bending the rod won't cure it.
Toilet water level too high, or running into the overflow tube
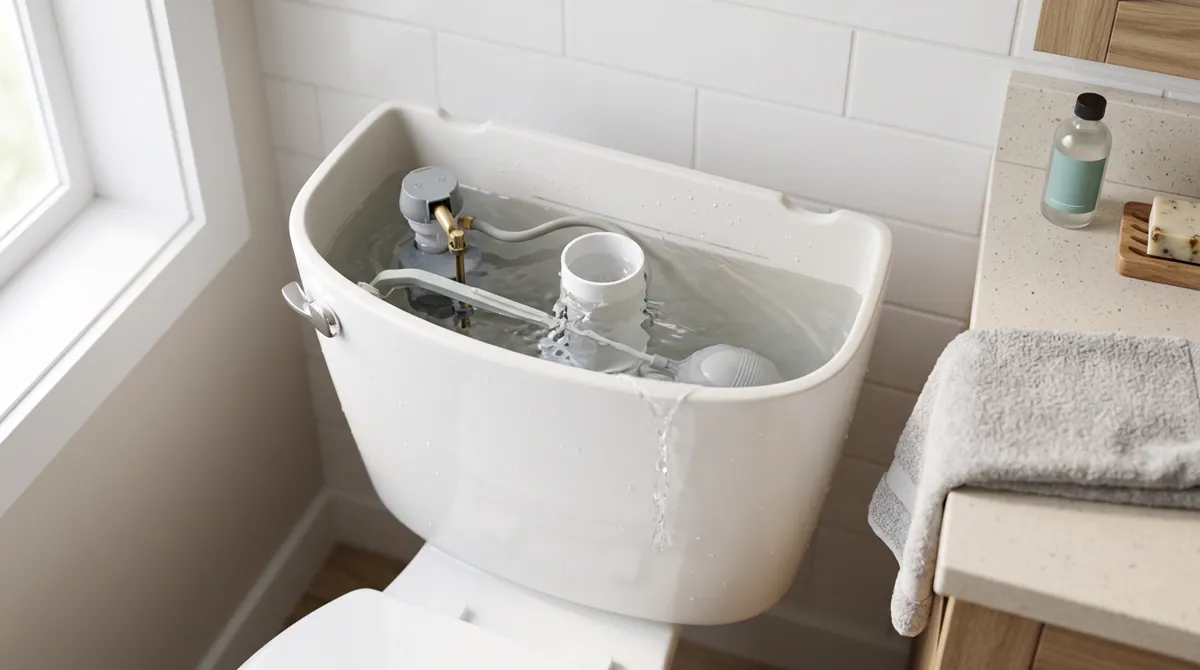
If water is spilling over the top of the overflow tube, lower the float first using the method for your valve, then flush and watch where the water stops. If it still runs once the level is set below the overflow, the valve itself isn't closing. Check the refill tube: Korky and Fluidmaster both warn that a refill tube pushed down inside the overflow tube can create a siphon that keeps the valve running or turning on and off. Then look for debris. Kohler's troubleshooting guide says that if lowering the tank water level doesn't correct the overflow, clean or replace the fill valve, and American Standard says debris stuck inside the fill valve is the typical reason one won't shut off. On Fluidmaster's 400A you can flush it out: turn the water off, remove the top cap, hold a cup upside down over the open valve, and turn the water on and off a few times to clear it. If the tank refills on its own every so often but the water never reaches the overflow, the float isn't the problem at all. Fluidmaster says that pattern means the tank is losing water, and its fix starts with the flapper and the seat it closes on. Korky's check is to shut the water off, mark the level and see whether it drops over about 30 minutes. Our flapper vs fill valve guide explains how to tell the two apart, and how to fix a running toilet covers the flapper and chain repairs. If the water is ending up on the floor rather than in the overflow tube, work through finding where a toilet is leaking.
Water level too low, or a weak flush
A tank that stops well short of its waterline gives a weak or incomplete flush, which Korky lists as the result of a valve set too low. Raise the float using the method for your valve: clockwise on a Fluidmaster 400A or American Standard universal valve, a taller setting on a Korky, or a slight upward bend of the rod on a ball float. Don't try to make up for a weak flush by setting the water above the overflow tube; the extra drains into the bowl and the valve won't shut off. If it's the bowl water that sits low after a flush, remember the bowl refills through the small refill tube: Fluidmaster's troubleshooting says to make sure that tube is feeding water down the overflow pipe, and that the tank level itself isn't too low. Some valves also have a separate bowl-refill control, such as the refill dial on Korky's 528MP and 528X or the bowl refill knob on Fluidmaster's 400H-002, which sets how much water goes to the bowl. If the tank level is right and the flush is still weak, look past the tank: Kohler's poor-flush checklist also covers flapper-chain slack, clogged rim holes under the bowl's edge and obstructions in the trapway. Our toilet troubleshooter works through those causes symptom by symptom.
Toilet tank not filling, or filling very slowly
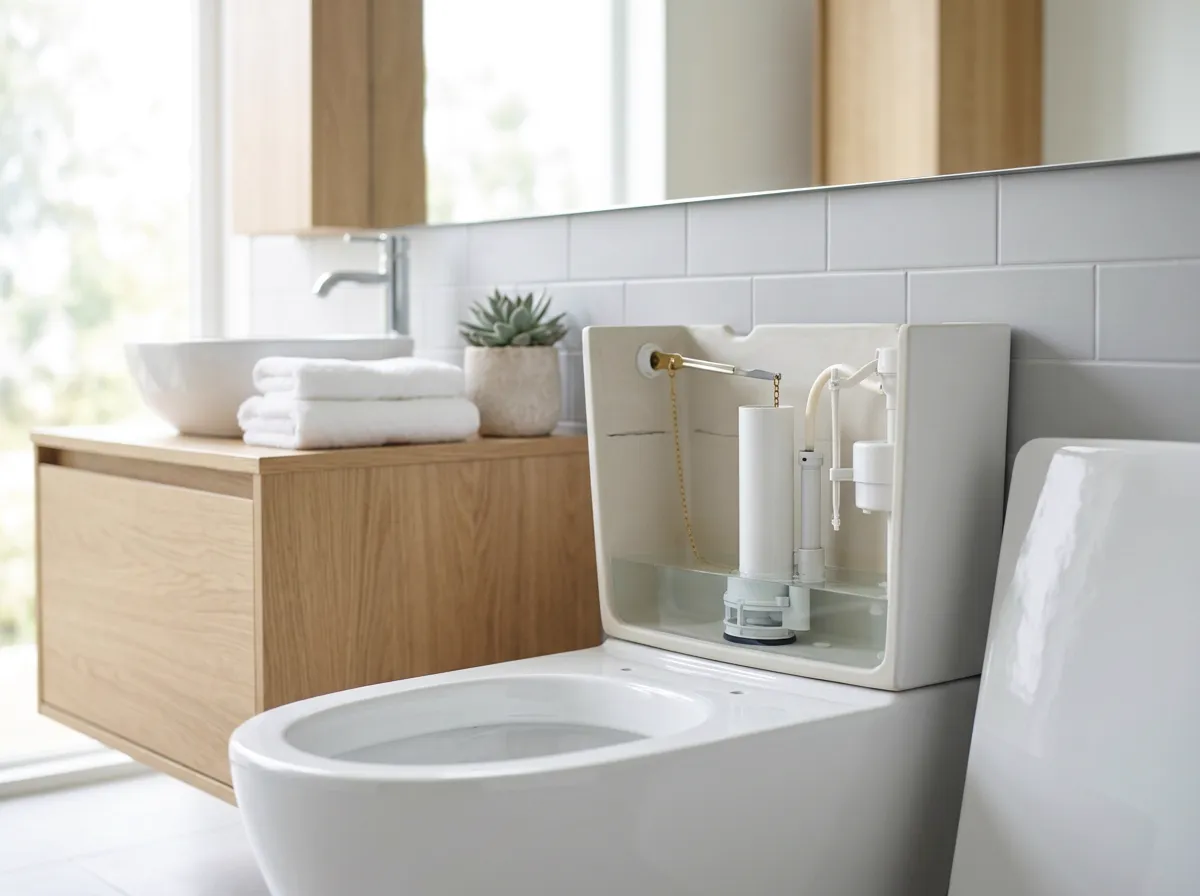
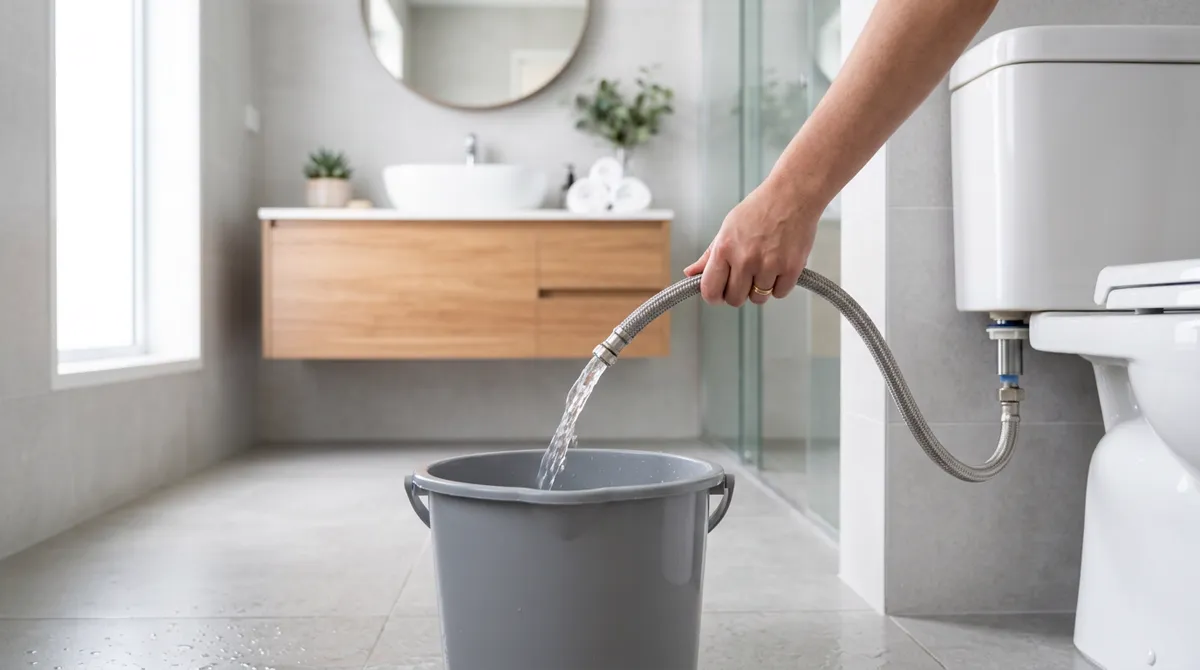
A tank that won't fill or takes ages to refill is usually a supply or debris problem rather than a float setting. Start with the supply: make sure the shutoff valve behind the toilet is fully open (Korky and Kohler both list this first) and that the supply line isn't kinked or bent. Kohler also says to confirm the flapper or canister seats after the flush, because a loose chain or other object can interfere with the refill. If that all checks out, Korky's bucket test tells you which side of the valve the problem is on. Shut off the water, disconnect the supply line from the bottom of the fill valve, point it into a bucket and turn the water back on slowly. Little or no flow means a blockage in the line or your home's water supply, and Korky's advice is to call a licensed plumber. Normal flow means the restriction is most likely in the fill valve. Fluidmaster says debris in the valve body, supply line or shutoff valve is one of the most common causes and recommends flushing it out first, and on its 400A a float cup that doesn't drop when you flush calls for a new 242 seal. Korky's own valves can be opened and their strainer rinsed. Korky's service steps also include tapping the float to make sure it moves freely and doesn't scrape the sides.
When to stop adjusting and replace the fill valve
Adjusting only helps if the valve can still hold a level. Kohler's troubleshooting guide says to replace the fill valve if the float sinks. Replace the valve, too, when it still won't shut off after you've set the level below the overflow and flushed out debris, the next step both Kohler and Fluidmaster give. And replace it when it still fills slowly after the bucket test shows good flow from the supply line and a debris flush hasn't helped. Age matters too. Korky puts the typical lifespan of a fill valve at 5 to 7 years depending on the type of water you have, and says a slow valve more than 5 years old, or one that can't be serviced, is easiest to replace. Fluidmaster says working parts can start to wear out after about 7 years, and recommends replacing a valve that shows bleached or faded discoloration, or rust on the cap's lever arm. Swapping the valve is a manageable DIY job with basic tools: our step-by-step fill valve guide covers it, and our best toilet fill valves roundup compares the Fluidmaster and Korky options.
Which float do you have, and which way does it adjust?
| Float type | How to spot it | To raise the water | To lower the water |
|---|---|---|---|
| Float cup, screw on top (Fluidmaster 400A) | A plastic cup rides up and down the valve shaft, with a long adjustment screw on top | Turn the screw clockwise | Turn the screw counterclockwise |
| Screw on the side (American Standard universal fill valve) | The adjustment screw sits on the side of the fill valve | Turn the screw clockwise | Turn the screw counterclockwise |
| Internal float (Korky) | No float cup or ball to see (the float sits inside, under the valve cover); a water-level mark is stamped on the valve | Water off, unlock the valve and set it taller | Water off, unlock the valve and set it shorter |
| Ball float on a rod | A round ball on the end of a rod | Bend the rod up slightly | Bend the rod down slightly |
| Float valve on some Kohler one-piece toilets | A tank water level screw on the float valve | Turn the screw counterclockwise | Turn the screw clockwise |
Tips & warnings
- If the float can't raise the water high enough and you lengthen the valve instead, set the new height before you reinstall it, so its critical-level (CL) mark sits 1 inch above the top of the overflow tube, the position Fluidmaster and Korky both give. Then check that the tank lid still sits down without touching the valve, as Fluidmaster's instructions say.
- Before the lid goes back on, clip the refill tube to the top of the overflow tube; don't push it down inside, which Korky warns can create a siphon (Fluidmaster warns that shoving it down the overflow pipe may cause significant water waste). A few Kohler and Mansfield flush valves take the tube differently, so follow the valve's instructions.
- If the water pressure in your supply line varies, set the level when the pressure is at its highest, as Kohler's manual advises.
- Skip in-tank drop-in cleaners that contain bleach or chlorine. Fluidmaster warns they damage tank components, may cause flooding and void its warranty.
Frequently asked questions
How do you adjust a toilet float?
Take the lid off the tank and identify the float. On a float-cup valve such as Fluidmaster's 400A, turn the adjustment screw: clockwise raises the water level and counterclockwise lowers it. On a Korky valve the float is internal, so you shut off the water and reset the valve's height instead. On a ball float, Kohler's service instructions for some of its toilets say to bend the rod slightly up to raise the level or slightly down to lower it. Set the water to the tank's waterline mark, or roughly 1/2 inch below the top of the overflow tube if there's no mark, then flush and check where it stops. Screw direction varies between brands, so make small changes and recheck each time.
Which way do you turn the screw to lower the water level in a toilet tank?
On a Fluidmaster 400A and on American Standard's universal fill valve, turn the adjustment screw counterclockwise to lower the water level and clockwise to raise it. That isn't universal: the float valve on some Kohler one-piece toilets works the other way, with clockwise lowering the level. If you don't know your valve, pencil-mark the current level first. Fluidmaster says eight turns of its screw move the float about 1/2 inch, so turn it several times, flush, and see which way and how far the water moved.
Why is my toilet tank not filling with water?
Start with the supply: make sure the shutoff valve behind the toilet is fully open and the supply line isn't kinked. Check that the flapper seats after the flush, since Kohler notes a loose chain can interfere with the refill. Then shut off the water, disconnect the supply line from the fill valve and run it into a bucket. Little or no flow means a blockage in the line or your home's water supply, which Korky says is a job for a licensed plumber. Normal flow means the restriction is most likely in the fill valve, where Fluidmaster names debris and age as the most common causes: flush it out or service it, and replace it if it's old or can't be serviced.
Why won't my fill valve shut off after I lowered the float?
If the water is set below the top of the overflow tube and the valve still runs, the valve isn't closing. Common causes are debris lodged in the valve or a refill tube pushed down inside the overflow tube, which Korky and Fluidmaster both warn can create a siphon. Pull the refill tube out of the overflow tube and flush the debris out of the valve. If it still won't close, replace it: Kohler's troubleshooting guide gives cleaning or replacing the fill valve as the fix when lowering the level doesn't stop the overflow.
How do you adjust a toilet ball float?
A ball float sits on the end of a rod, and you change the water level by bending the rod. Kohler's instructions say to bend the float rod up slightly if the tank water is too low and slightly downward if the water is above the overflow. Flush to check after each change. If the ball has taken on water, bending won't help; Kohler's fix for a leaky float ball is a new one.
Should I adjust the float or replace the fill valve?
Adjust first, since it costs nothing and is often all a too-full or too-low tank needs. Replace the fill valve when the float sinks, when the valve still won't shut off after the level is set below the overflow and debris has been flushed out, or when it still fills slowly after you've confirmed good flow from the supply line. Age is a factor too: Korky puts a fill valve's typical lifespan at 5 to 7 years depending on your water, and Fluidmaster says working parts can start to wear out after about 7 years.
Sources
- Fluidmaster — 400A Fill Valve Installation Instructions (PDF)
- Fluidmaster — Toilet Tank Won't Fill Up or Is Slow to Fill
- Fluidmaster — Toilet Running Constantly
- Fluidmaster — Toilet Bowl Will Not Fill After the Flush
- Fluidmaster — How to Easily Maintain a Fluidmaster Fill Valve
- Korky — 528 QuietFILL Fill Valve Instructions (PDF)
- Korky — How to Replace a Toilet Fill Valve
- Korky — Anatomy of a Toilet
- Korky — How to Fix a Slow-Filling Toilet Tank
- Korky — QuietFILL Toilet Fill Valve (FAQ)
- Kohler — Toilet Troubleshooting Guide (PDF)
- Kohler — Siphon Vortex Low Profile One-Piece Toilets Service Instructions (PDF)
- American Standard — How do I adjust the water level in my tank?
- American Standard — My toilet tank is taking a long time to refill
- American Standard — How do I fix a running Champion toilet?