How to Replace a Toilet Flapper
To replace a toilet flapper, turn off the water supply valve, flush to empty the tank, and unhook the old flapper from the overflow tube pegs and chain. Match the new flapper to your tank's size (2-inch or 3-inch), snap it onto the pegs, reconnect the chain with slight slack, turn the water back on, and test the flush. The job takes about 10 minutes and needs no tools.
A worn or warped flapper is the most common cause of a running toilet, where water silently leaks from the tank into the bowl and drives up your water bill. Swapping it is one of the easiest plumbing fixes you can do yourself. This guide walks you through every step, including how to pick the right replacement size so it seals tight the first time.
See the best replacement flappers.
See our picks →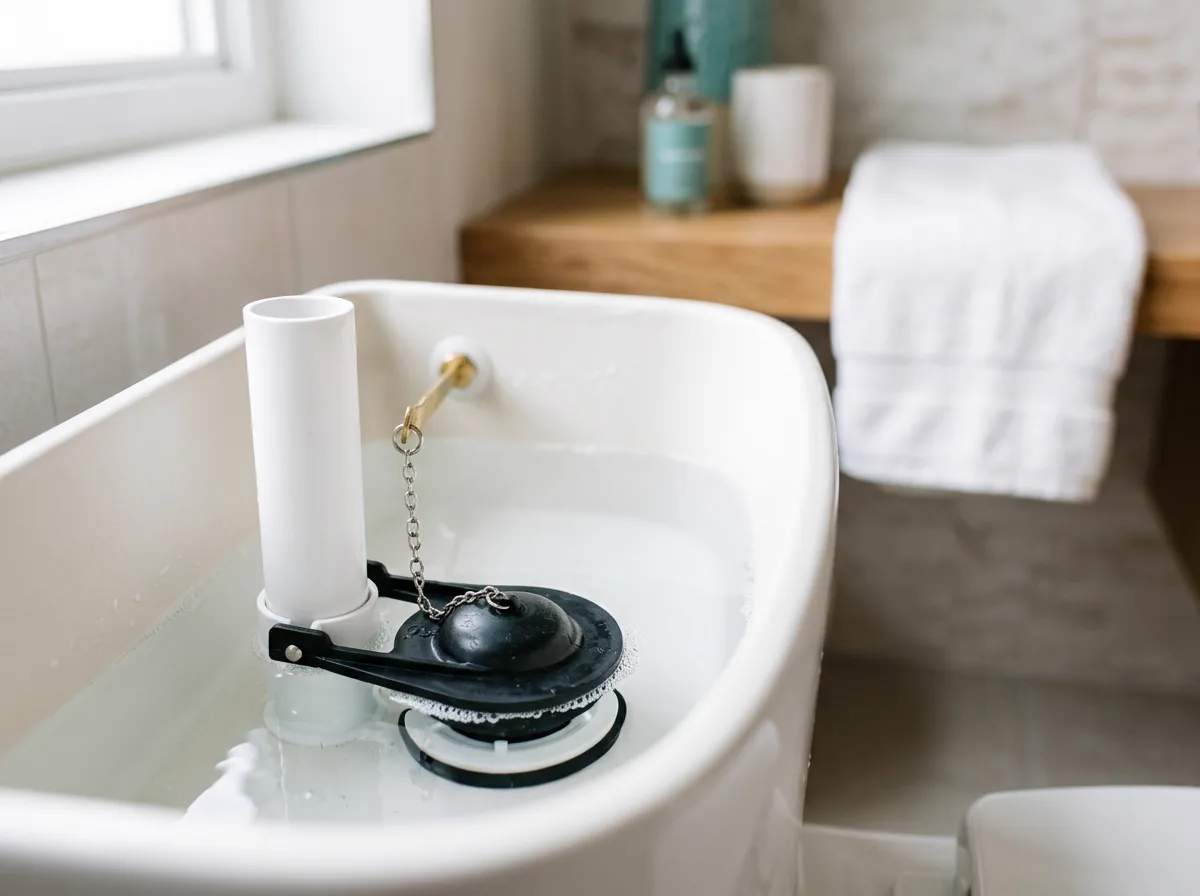
What you'll need
- New toilet flapper (2-inch or 3-inch to match your tank)
- Old towel or sponge to soak up leftover water
- Rubber gloves (optional, for a cleaner job)
- Adjustable pliers (only if the supply valve is stiff)
Step by step
- Turn off the water supply. Find the shutoff valve on the wall or floor behind the toilet and turn it clockwise until it stops. This cuts water to the tank so it won't refill while you work. If the valve is stuck, use adjustable pliers gently. No valve? Shut off your home's main water supply instead.
- Flush and empty the tank. Hold down the flush handle to drain as much water as possible from the tank. Use a towel or sponge to soak up the inch or two of water left in the bottom. A dry tank makes the flapper easy to see and keeps your hands out of standing water.
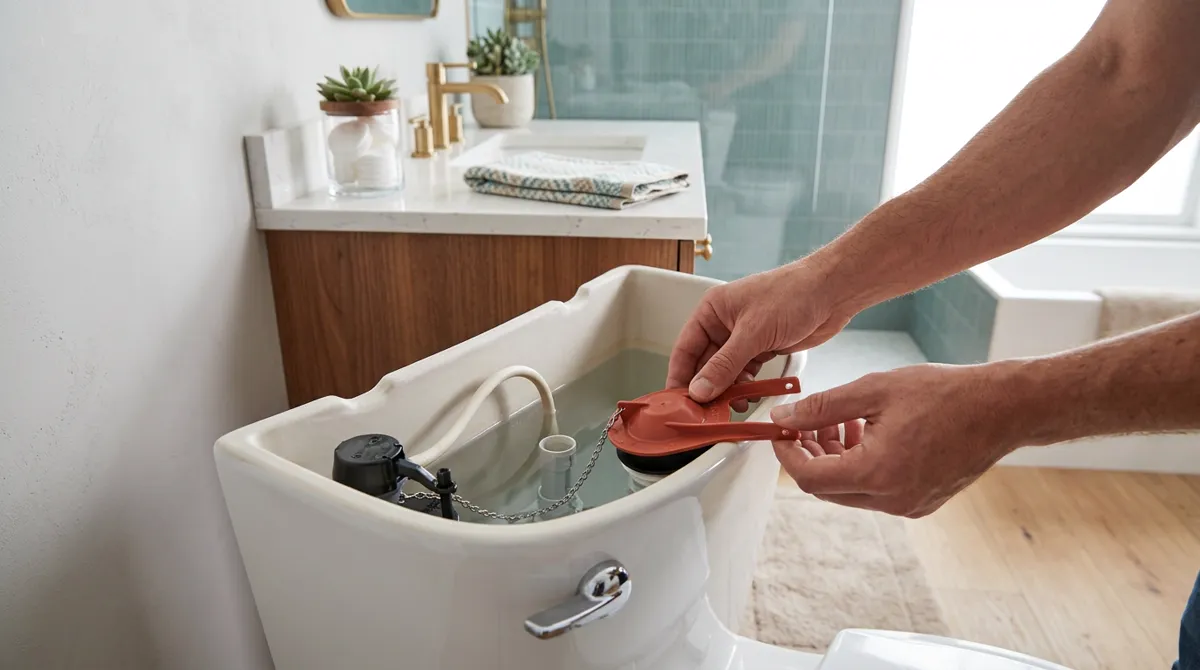
- Remove the old flapper. Look at the bottom center of the tank for the rubber flapper covering the drain hole (the flush valve). Unhook its two side ears or ring from the pegs on the overflow tube, then unclip the chain from the flush handle arm. Lift the old flapper out and set it aside.
- Match the new flapper size. Measure the flush valve drain opening: about 2 inches across means a 2-inch flapper (most older and standard toilets), about 3 inches means a 3-inch flapper (common on newer high-efficiency toilets). When in doubt, bring the old flapper to the store and match it, or buy a universal flapper that fits both.
- Install the new flapper. Slide the new flapper's side ears or mounting ring onto the same overflow tube pegs the old one used. Make sure it sits flat and centered over the drain hole so it can seal completely. It should snap or slide on snugly without forcing it.
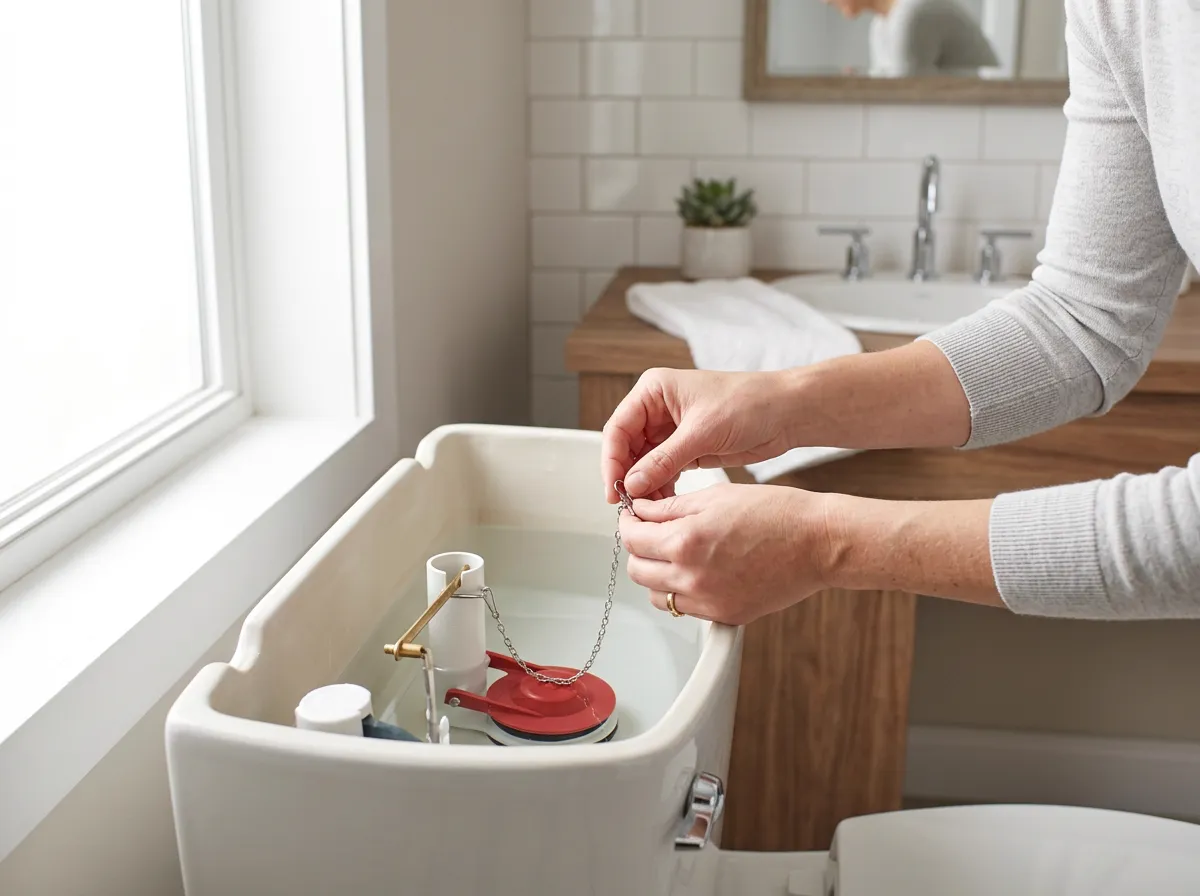
- Set the chain slack. Clip the chain to the flush handle arm, leaving about a half-inch of slack. Too tight and the flapper won't seal, causing a constant run; too loose and the toilet won't flush fully. Pick the chain link that gives a small amount of give when the flapper is closed.
- Turn the water back on and test. Turn the shutoff valve counterclockwise to let the tank refill. Once full, flush once and watch the flapper open and snap shut. Listen for any hissing or running water afterward. To confirm a tight seal, add a few drops of food coloring to the tank and check the bowl 15 minutes later for color leaks.
Tips & warnings
- Replace the flapper if you hear water running between flushes, see ripples in the bowl, or your water bill jumps unexpectedly. These are classic signs of a leaky seal.
- Flappers wear out every 4 to 5 years because chlorine and tank cleaner tablets break down the rubber. Drop-in bleach tablets shorten flapper life, so skip them if yours fails often.
- If you don't know your size, buy an adjustable or universal flapper. It fits both 2-inch and 3-inch valves and saves a second trip to the store.
- Snap a quick phone photo of the old flapper and chain before removing it. It gives you a reference for exactly how the new one should hook up.
- Avoid overtightening or stretching the chain. The single most common mistake is a chain that's too short, which holds the flapper slightly open and wastes water around the clock.
Frequently asked questions
How do I know what size flapper I need, 2-inch or 3-inch?
Measure the drain opening at the bottom of the tank, or look at the flush valve. A roughly 2-inch opening (about the size of an orange) takes a 2-inch flapper and is found on most standard toilets. A roughly 3-inch opening (about the size of a grapefruit) takes a 3-inch flapper and is common on newer high-efficiency models. When unsure, match the old flapper or buy a universal one.
Why is my toilet still running after I replaced the flapper?
The most common cause is chain slack. If the chain is too short or tangled, it holds the flapper open. Adjust it to leave about a half-inch of give. Also check that the new flapper sits flat and centered over the drain. If it still runs, the flush valve seat may be rough or cracked and need replacing.
Do I need any tools to replace a toilet flapper?
Usually no tools are needed. The flapper hooks onto pegs by hand and the chain clips on without tools. You may want pliers only if the water shutoff valve is stiff, and a towel or sponge to soak up leftover tank water. The whole job typically takes about 10 minutes.
How often should a toilet flapper be replaced?
Most flappers last 4 to 5 years before the rubber hardens, warps, or develops a poor seal. Chlorine-based tank cleaning tablets speed up that breakdown. If you notice intermittent running, phantom refills, or a rising water bill, it's likely time for a new flapper even if the old one looks intact.